Guide to setting up secure email
How to setup secure email on your server
This is a guide to setting up automatic secure email on your server
Let's break the guide into some easy steps:
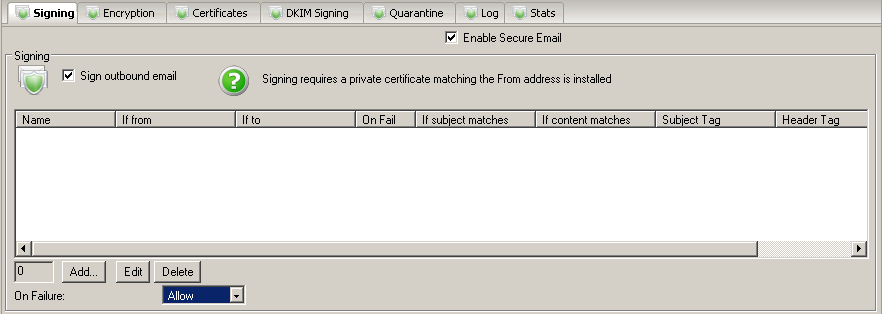
Signing Email on the server
- Decide which email you wish to sign and configure your signing rules. By default all outbound email will be signed if an appropriate certificate is installed. To sign email you require a private key in your certificate store
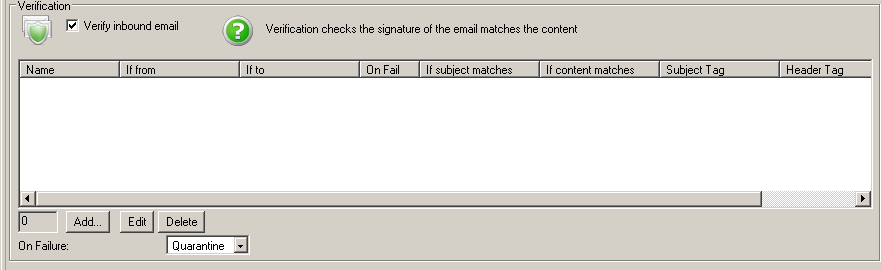
Verifying Email on the server
- Decide which email you wish to verify signatures for and configure your verification rules. By default all inbound email will be verified if signed. Verified email certificates will be added as public keys to your certificate store
- Once you have received a verified signed email from a sender you can then encrypt email back to that sender automatically. The signature contains their public key that is used to encrypt email back to that sender. You cannot encrypt email to a sender who has not sent you a signed email or for whom you do not have a public key in the certificate store
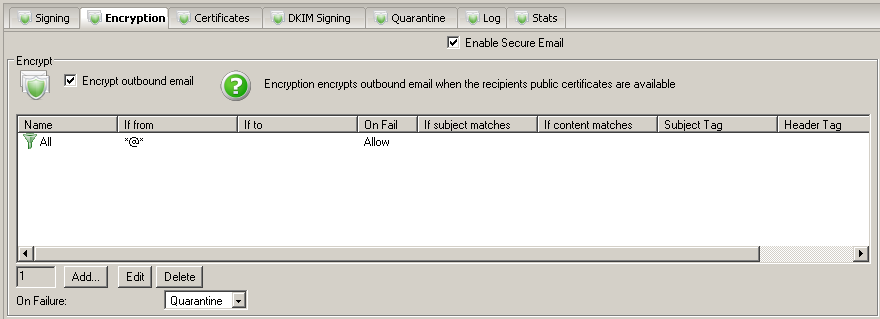
Encrypting Email on the server
- Decide which email you wish to encrypt and configure your encryption rules. By default all outbound email will be encrypted if an appropriate certificate is installed. To encrypt email you require a public key for the recipient in your certificate store
- Once you have received a verified signed email from a sender you can then encrypt email back to that sender automatically. The signature contains their public key that is used to encrypt email back to that sender. You cannot encrypt email to a sender who has not sent you a signed email or for whom you do not have a public key in the certificate store
Decrypting Email on the server
- Decide which email you wish to decrypt on the server and configure your decryption rules. By default all inbound email will be decrypted if encrypted and you have the necessary private key in your certificate store
- Email that cannot be decrypted will remain encrypted until it reaches the email client ona desktop machine where the user should be able to decrypt using their own certificate/private key

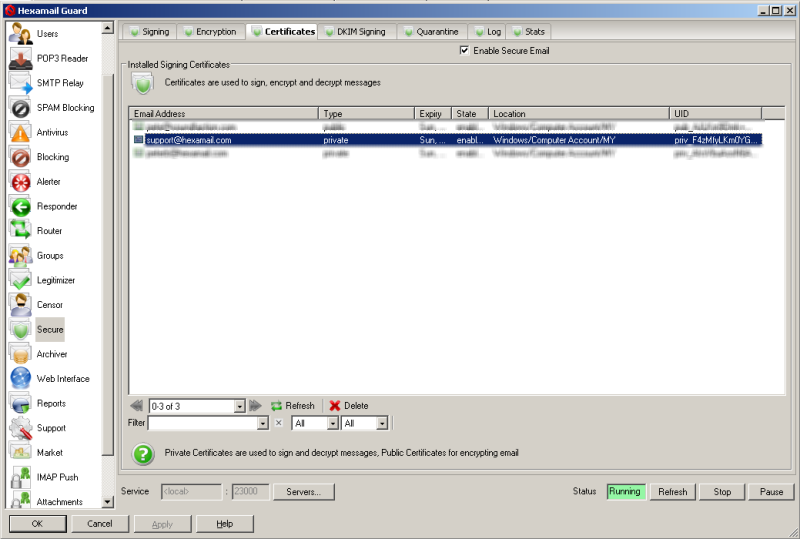
Certificate Store
- The Hexamail certificate store shows all the email encryption certificates in the Windows Certificates Store (and also any certificate files on disk under data/certs/in and data/certs/trusted)
- When you receive a signed email and it matches a verification rule then the signing certificate (public key) is automatically added to your certificates store and used to encrypt email sent back to that email address
- In order to sign and decrypt email on your server you will need to add private key certificates to the certificate store.
Adding Certificates to the Certificate store
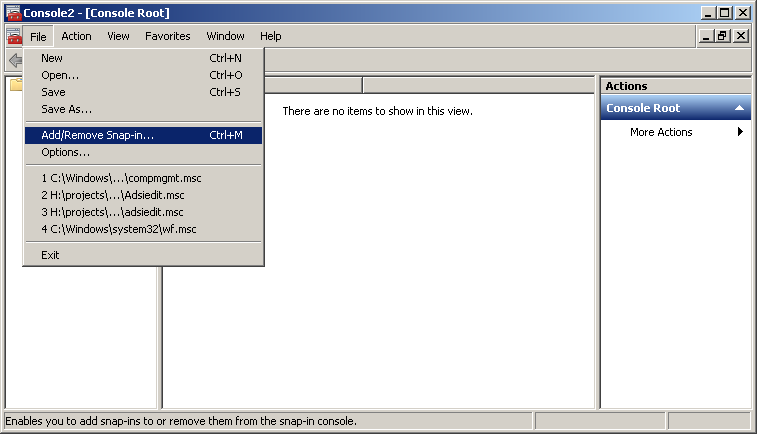
- In order to add new certificates to the store you need to use the Windows Management Console with the certificates snapin to import certificates into the Local Computer store. If you don't yet have a certificate for an email address you can visit a site such as InstantSSL to get a free email encryption certificate delivered to an email account. Once you have registered you will be sent an email with a link in it to allow you to claim your certificate. Click the link (on the same computer you used to request the certificate) and that will install the certificate on the same computer you requested the certificate from. Once installed open Microsoft Management Console by doing Start-> Run->mmc and pressing enter.
- Choose File: Add/Remove Snap-in... and add the Certificates snapin for Current User
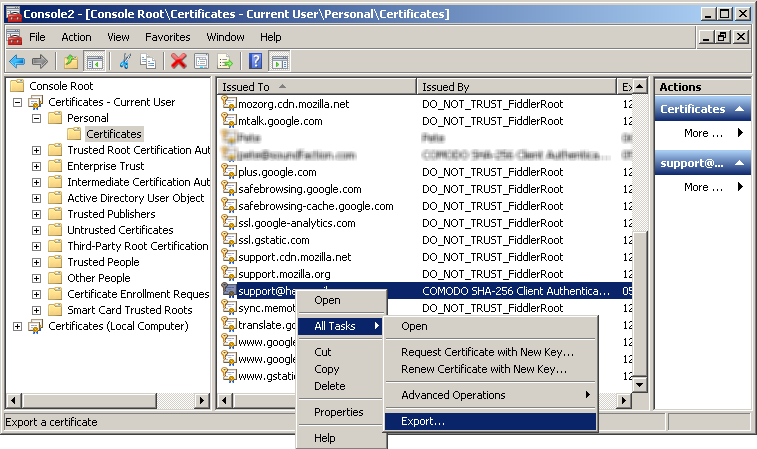
- Locate the email encryption certificate you installed, right click it and do All Tasks->Export... This will open the certificate export wizard
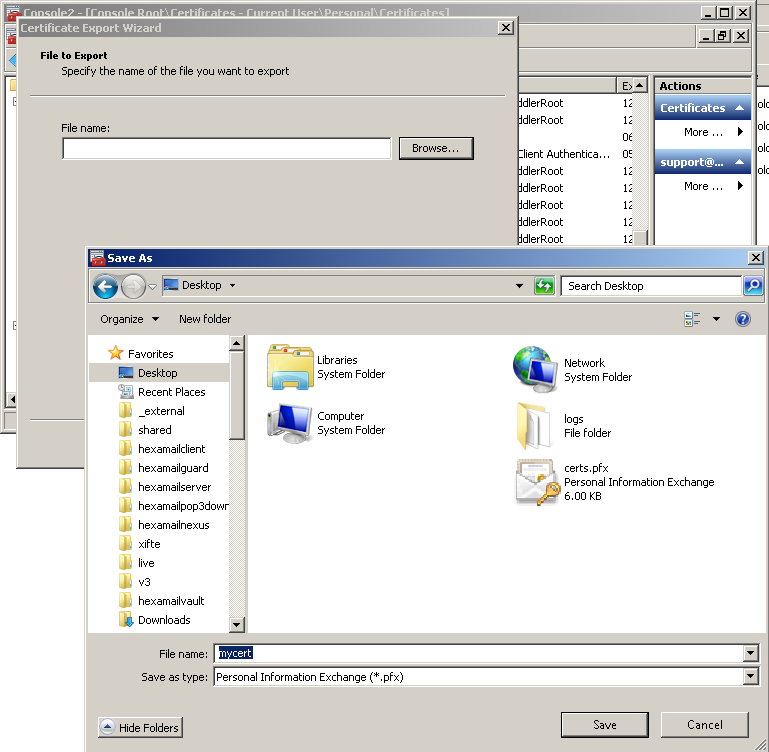
- Choose to export the private key, and to Export all extended properties. Then choose a password: this is used to lock the exported file and you will need it to reimport on the server. Choose a useful filename and export the certificate to your desktop or a server folder
- On the server open MMC
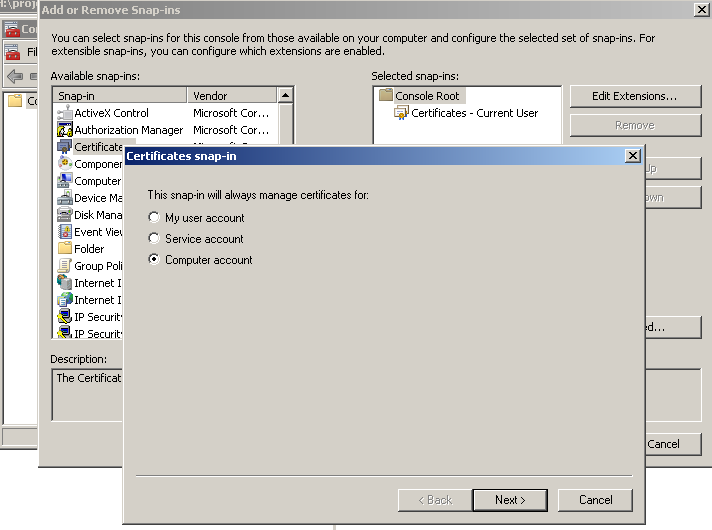
- Choose File: Add/Remove Snap-in... and add the Certificates snapin for Local Computer
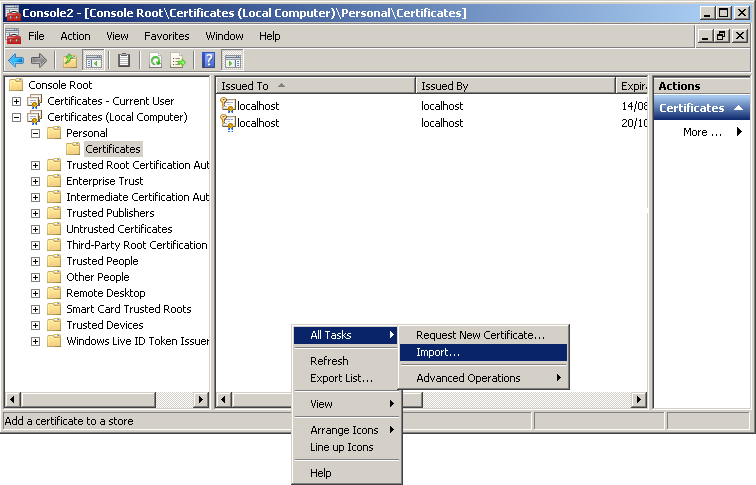
- Right click inside the Personal/Certificates page and choose All tasks->Import...
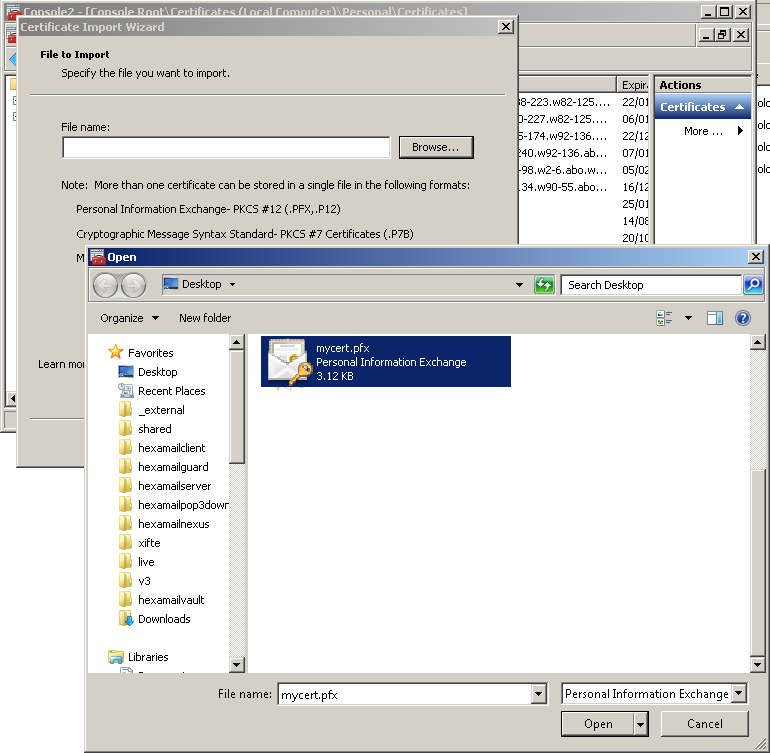
- Browse for the file you saved previously. You need to choose Personal Information Exchange as the file type to see it.
- Enter the password you used to export the certificate and check the Include all extended properties checkbox
- Click Next and Finish and the certificate should appear in the Local Computer Personal/Certificates store in MMC
- Refresh the certificates list in Hexamail and it should also appear there.