Guide to setting up SSL and TLS SMTP email
How to setup secure SSL, TLS and STARTTLS on your server
This is a guide to setting up SSL, TLS and STARTTLS email on your server to allow you to send and receive over encrypted channels.
Let's break the guide into some easy steps:
Setting up to receive SSL SMTP on the server
- First you need to install a valid server SSL certificate on the server. This allows connecting servers and clients to encrypt communications to your server and identify that your server is the legitimate server for the domain.
- You can obtain server SSL certificates from suppliers such as Comodo
- Once you install the certificate it will be placed in your Personal Certificate store on Windows
- You will need to move the certificate to the Local Computer store so that the Hexamail service can use it. This process is outlined here Managing the certificate store
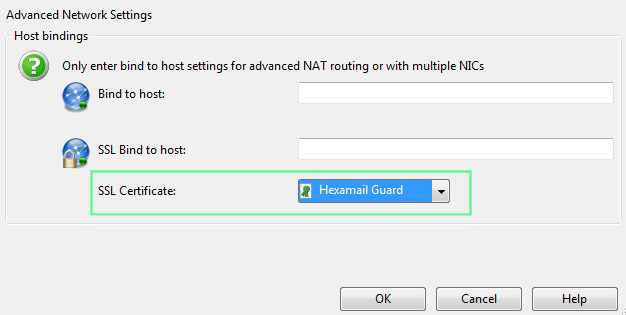
- Once you have imported the certificate to the correct store open the Hexamail Admin interface and go to SMTP Server/Network/Advanced and select the certificate in the drop-down list. All usable certificates will appear there including one that Hexamail automatically creates for you to allow limited SSL communications. Though the auto-created certificate is self-signed so will not be acceptable to some connecting server and clients. It is best to use a genuine certitificate from an Certification Authority such as Comodo, Verisign etc.
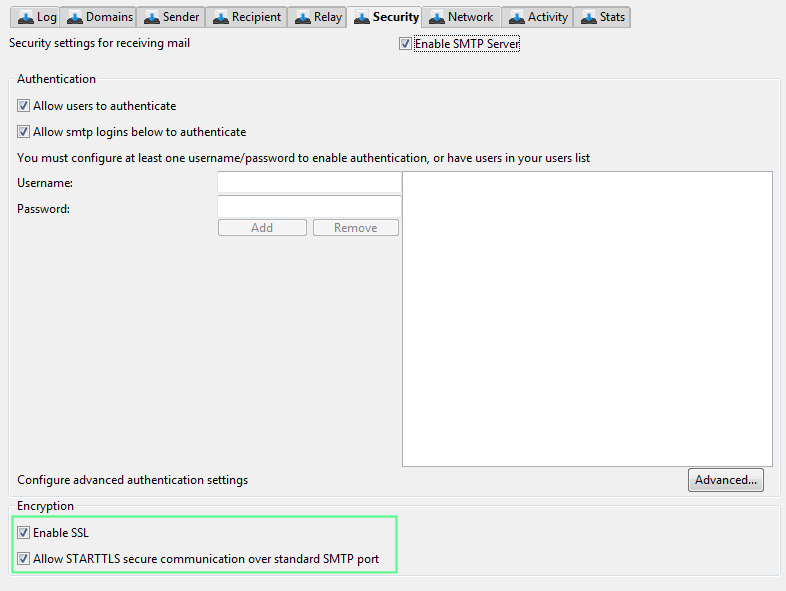
Setting up TLS support on the server
- Once you have setup SSL then TLS is easy. Just enable the Decide which email you wish to verify signatures for and configure your verification rules. By default all inbound email will be verified if signed. Verified email certificates will be added as public keys to your certificate store
Using SSL to communicate with other SMTP servers
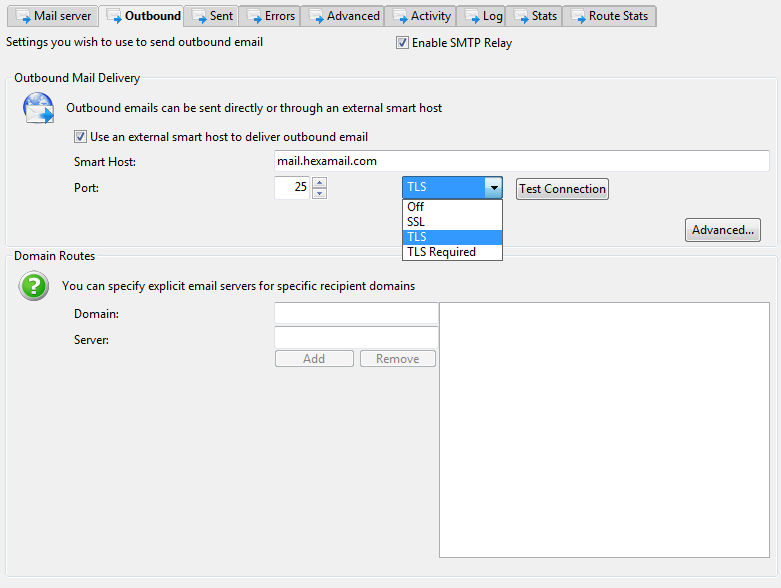
- If you want Hexamail to use SSL to encrypt SMTP communications with your Mail server or Outbound smarthost just go to the relevant page under the SMTP Relay module and enable SSL
- Usually the port for SSL is 465
- If your mailserver or smarthost do not support SSL they may support STARTTLS (which is a secure channel negoatiated over and initially unencrypted connection)
- You can enable this under the settings for the Mail server
- You can enable this under the settings for the Outbound Smarthost
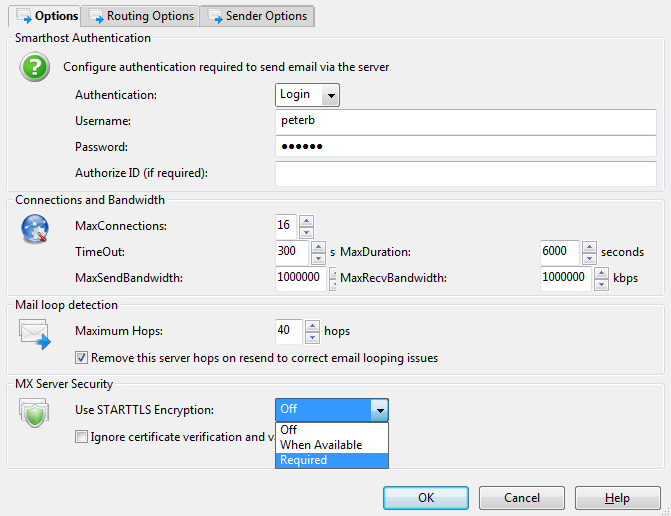
- If you do not use a smarthost for outbound SMTP (email is sent directly to the required SMTP servers or MX servers) then you can also enforce or request usage of a negotiated secure channel under the Outbound/Advanced page. Just set the MS Security setting to use STARTTLS Encryption to When Available or Required. If set to required then you will not be able to send email to servers that do not support STARTTLS and secure channels.

Certificate Store
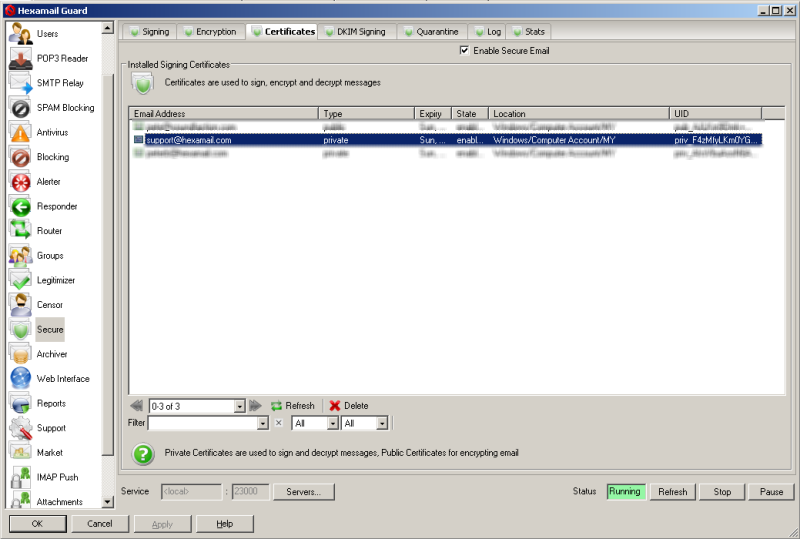
- The Hexamail certificate store shows all the email encryption certificates in the Windows Certificates Store (and also any certificate files on disk under data/certs/in and data/certs/trusted)
- When you receive a signed email and it matches a verification rule then the signing certificate (public key) is automatically added to your certificates store and used to encrypt email sent back to that email address
- In order to sign and decrypt email on your server you will need to add private key certificates to the certificate store.
Adding Certificates to the Certificate store
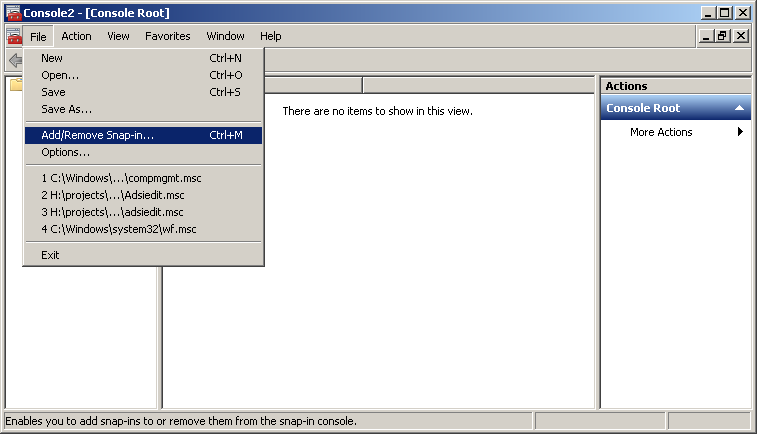
- In order to add new certificates to the store you need to use the Windows Management Console with the certificates snapin to import certificates into the Local Computer store. If you don't yet have a certificate for an email address you can visit a site such as InstantSSL to get a free email encryption certificate delivered to an email account. Once you have registered you will be sent an email with a link in it to allow you to claim your certificate. Click the link (on the same computer you used to request the certificate) and that will install the certificate on the same computer you requested the certificate from. Once installed open Microsoft Management Console by doing Start-> Run->mmc and pressing enter.
- Choose File: Add/Remove Snap-in... and add the Certificates snapin for Current User
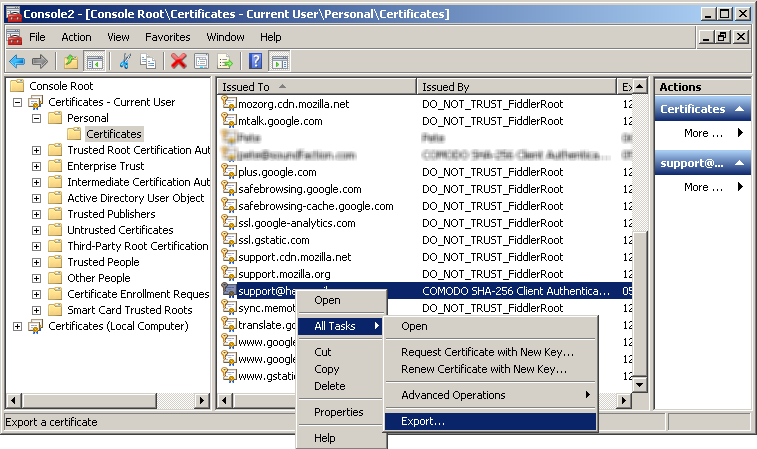
- Locate the email encryption certificate you installed, right click it and do All Tasks->Export... This will open the certificate export wizard
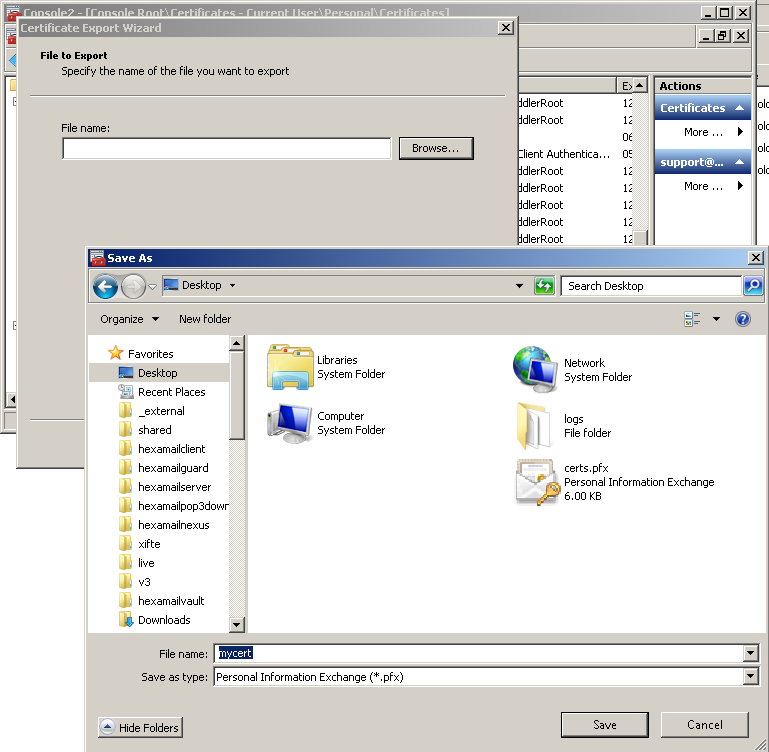
- Choose to export the private key, and to Export all extended properties. Then choose a password: this is used to lock the exported file and you will need it to reimport on the server. Choose a useful filename and export the certificate to your desktop or a server folder
- On the server open MMC
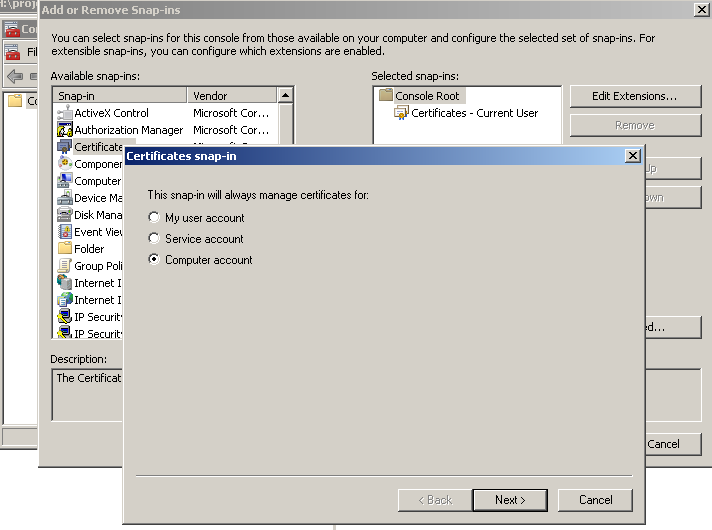
- Choose File: Add/Remove Snap-in... and add the Certificates snapin for Local Computer
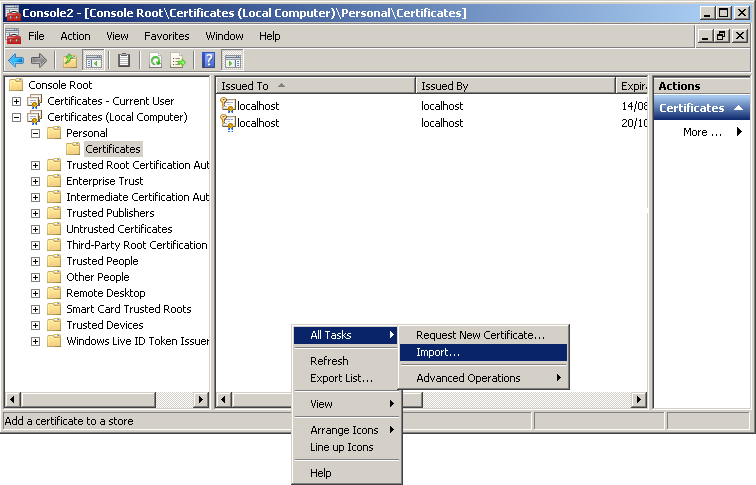
- Right click inside the Personal/Certificates page and choose All tasks->Import...
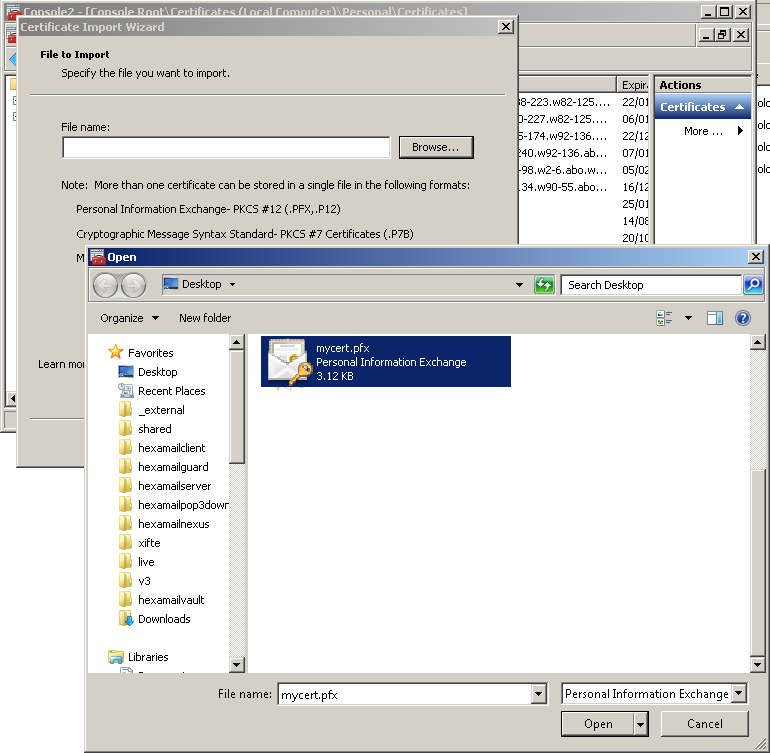
- Browse for the file you saved previously. You need to choose Personal Information Exchange as the file type to see it.
- Enter the password you used to export the certificate and check the Include all extended properties checkbox
- Click Next and Finish and the certificate should appear in the Local Computer Personal/Certificates store in MMC
- Refresh the certificates list in Hexamail and it should also appear there.